This guide is from my video published Oct 25, 2022. Valve's recovery page, the recovery image and Rufus have all been updated since then, so some of these steps and screens may be different now.
 ▶Watch on YouTube
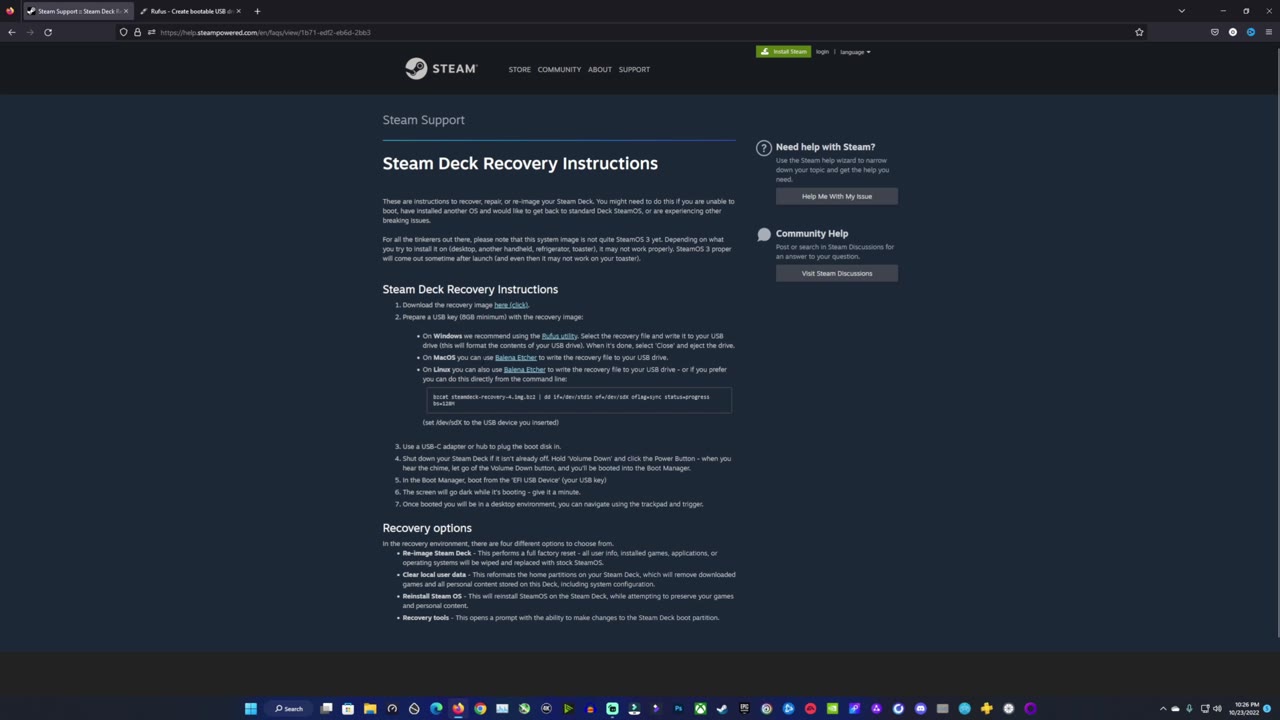
- Download the Steam Deck recovery image from Valve's recovery instructions page.
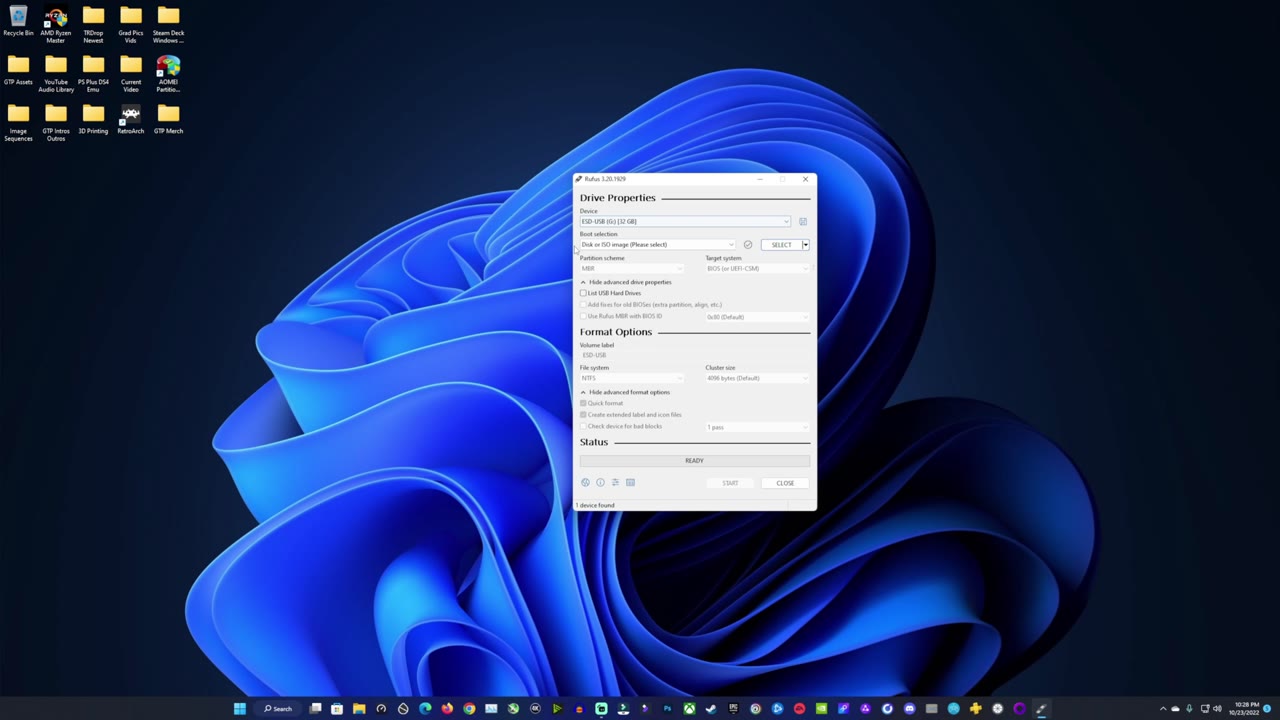
- On Windows, write it to a USB stick with Rufus. You don't need to change any settings.
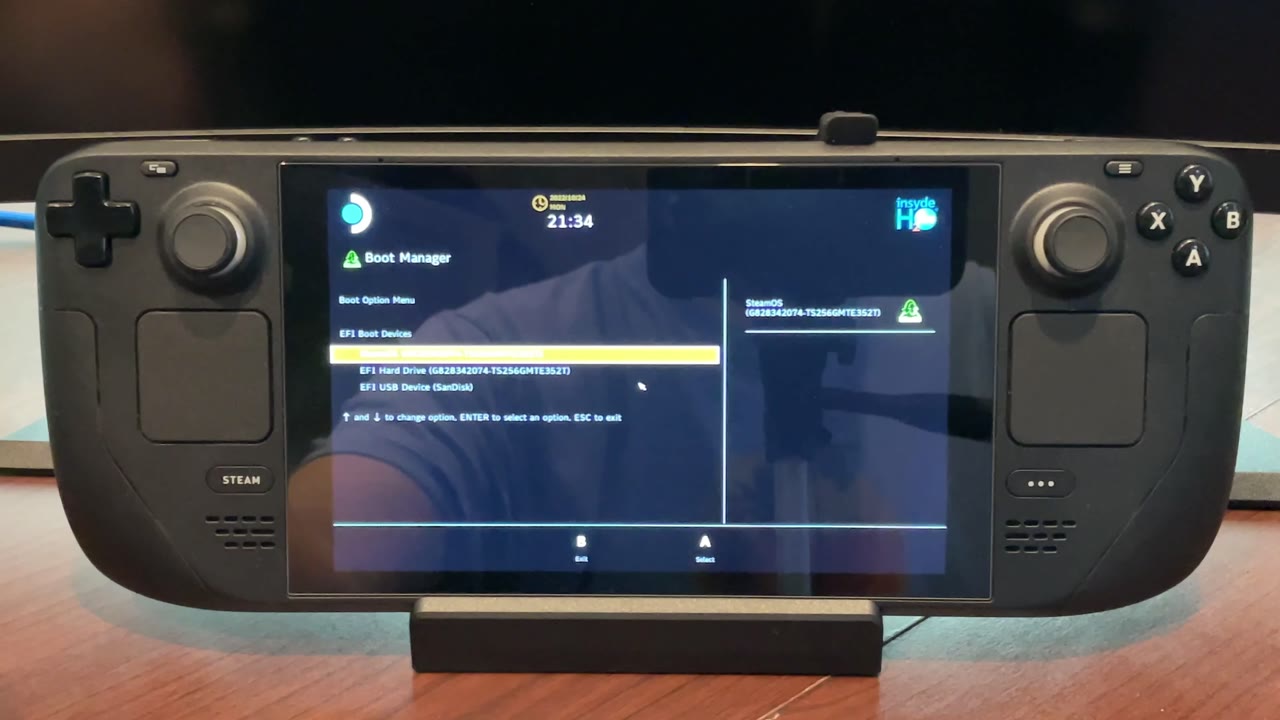
- Boot the Deck from the USB by holding Volume Down + Power and picking the EFI USB Device.
- Run Re-image Steam Deck, restart, and go through the first-time setup again.
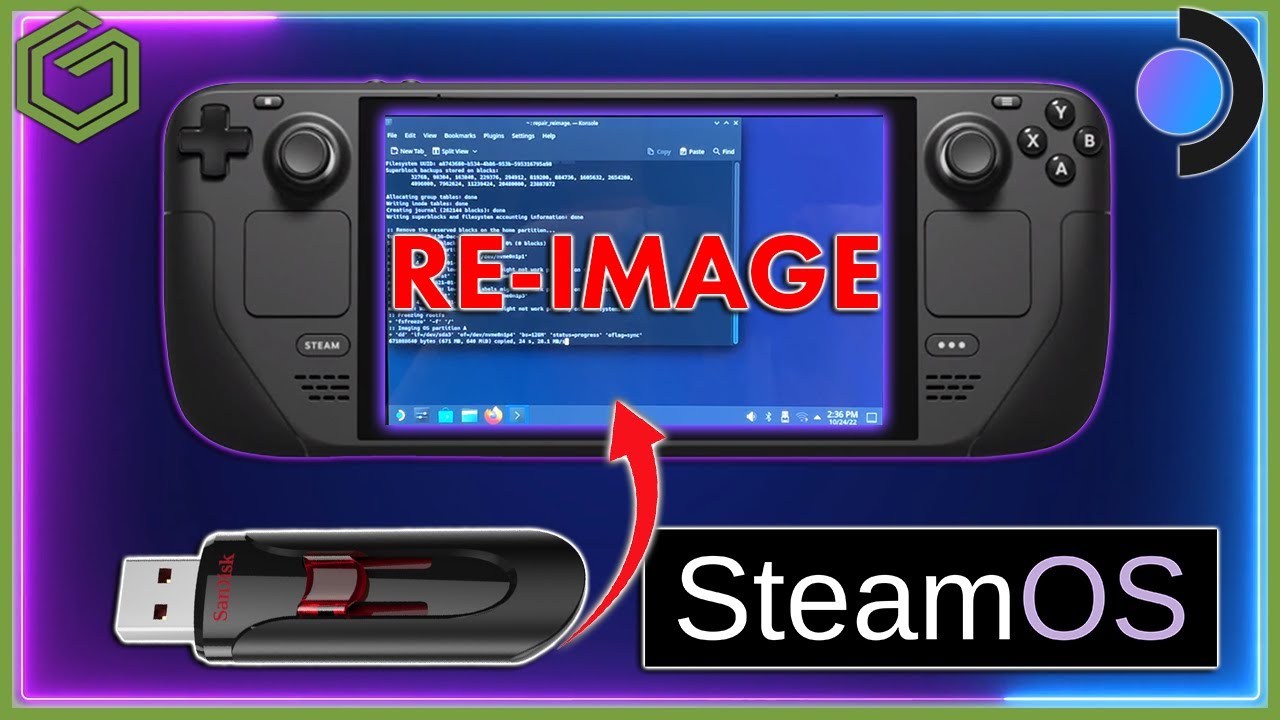
If you've tinkered with your Steam Deck too much, or you're having performance problems a factory reset won't fix, you can re-image it and have it just like it was when you first got it. It's a pretty easy process. Valve has instructions for Windows, macOS and Linux, but this guide covers Windows with Rufus.
Recovery options
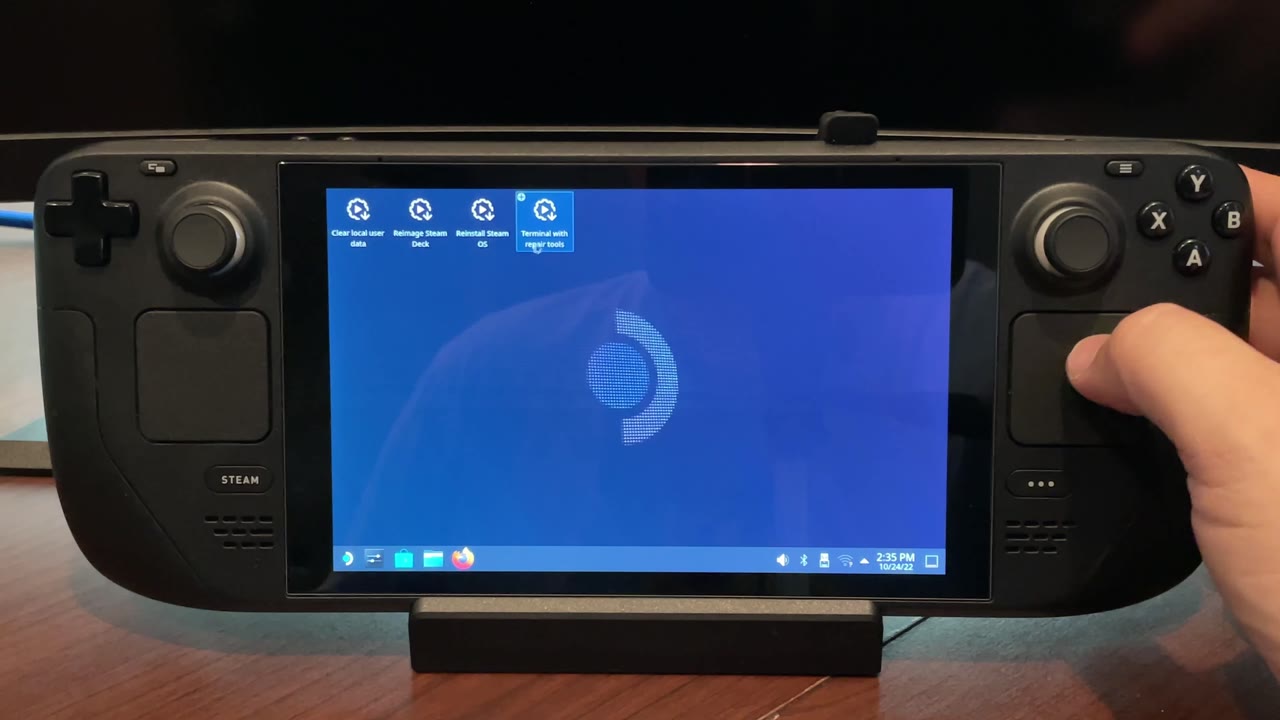
Valve's recovery image gives you four options: re-image the Steam Deck, clear local user data, reinstall SteamOS over top of your partitions, and recovery tools. This guide focuses on re-imaging, since it's the method that truly takes everything back to how it was from the factory. It clears out the partitions on the SSD and rewrites the image onto the Steam Deck, so everything on it will be gone.
What you need
- A USB stick. Valve's page listed 8 GB minimum when I made the video.
- A Windows PC (or Mac/Linux, using Valve's instructions for those)
- Rufus to write the image to the USB stick
- The Steam Deck recovery image from Valve
- A way to plug the USB into the Deck. I used my dock, and Valve recommends a USB-C adapter or hub.
Step 1: Download the recovery image
- Go to Valve's Steam Deck Recovery Instructions page (link below).
- Click the download link, agree, and download the recovery image.
- Download Rufus too, and have it ready.
Step 2: Write the image with Rufus
- Open Rufus and make sure your USB stick is the device showing up. Don't accidentally do something to one of your other drives.
- Click Select and open the Steam recovery image you downloaded. You don't need to change any other settings.
- Click Start. It warns you that it's going to wipe the drive, so again, make sure it's your USB stick.
- Writing can take quite a few minutes. Mine took about 15 to 18 minutes, depending on your computer and the speed of your USB stick.
- When it's finished, click Close. I also like to eject the USB stick.
Step 3: Boot the Steam Deck from the USB
- Plug the USB stick in. Mine went into the dock.
- Hold Volume Down, press Power, and keep holding Volume Down until the Boot Manager comes all the way up.
- Go down to the EFI USB Device and press A to boot the recovery image. Sometimes this takes a few minutes, sometimes not.
Step 4: Re-image the Steam Deck
- Once you're on the recovery desktop, you'll see the same options from the website.
- Double-tap Reimage Steam Deck with the right trigger.
- It warns you that this gets rid of everything and starts completely over like from the factory. Click Proceed.
- It takes a few minutes. When it's done, a pop-up says you need to restart the Deck to finish. Click Proceed and the Deck restarts. You're done with the USB stick at this point.
Step 5: First-time setup
- After the restart, it's just like when you first got it. Pick your time zone and connect to the internet.
- Before you sign in, it runs an installing process. That took a couple of minutes for me.
- Then it downloads an update. It should download, restart the Deck and install on its own.
- Sign in to your account, and you're back to a fresh Steam Deck.
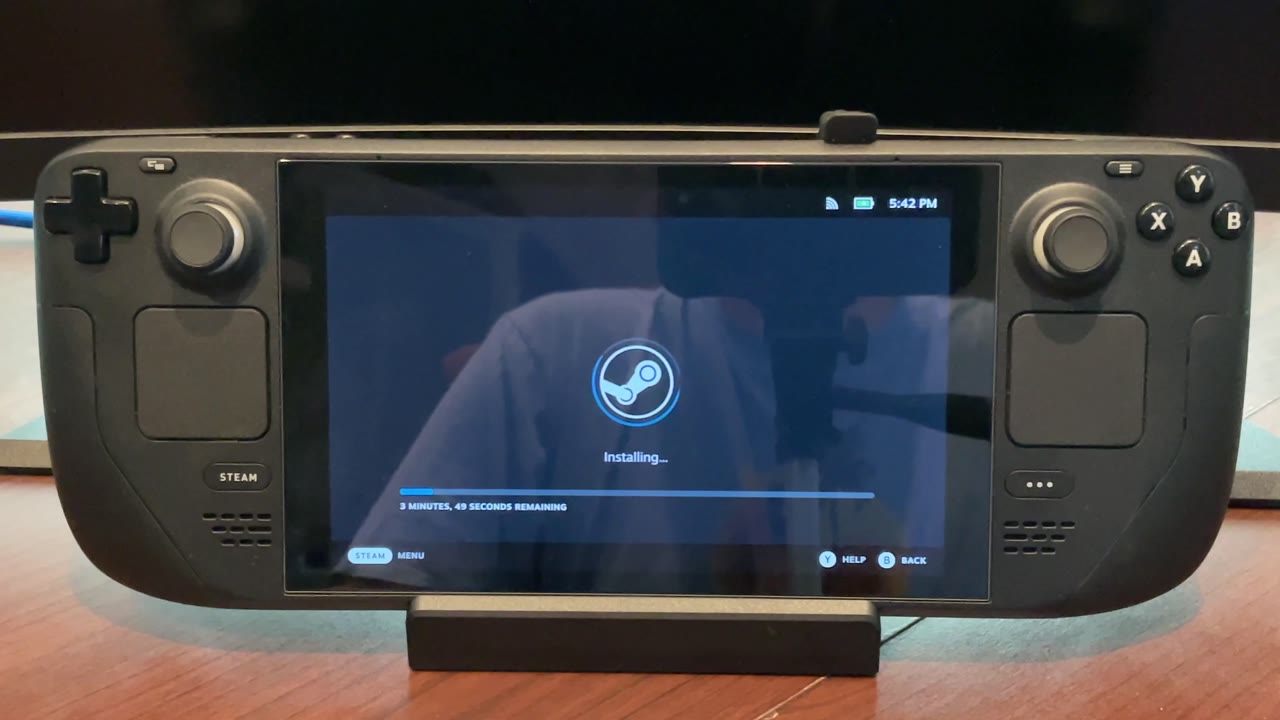
The update doesn't always restart on its own. I've had it hang there, and I even let it sit for a couple of hours once without it going. Give it some time, but if it doesn't restart, press the Steam button, go to Power and Restart, and it'll finish. After the update, it asks for your language and time zone again, but it remembers what you picked, so that part goes quickly.
All in all, it's a simple process: get the image, write it with Rufus, boot from the USB, re-image, then reboot and run setup. It takes a little time, but if you have a problem with your Steam Deck that a factory reset isn't handling, this should help you out.
Let me know on X or in the YouTube comments if you've had to re-image your Steam Deck and what made you do it. Thanks for reading.
Want more handheld tests?
New Steam Deck, ROG Ally, Legion Go and Steam Machine performance videos every week.